Mohawk employees are gradually migrating from Skype for Business to Microsoft Teams for phone service. Part of the move includes moving your Outlook email to the cloud.
Using Teams Calling and Calendar
Skype for Business will no longer work when your account moves to the cloud. You'll see an error message if you try to sign in.
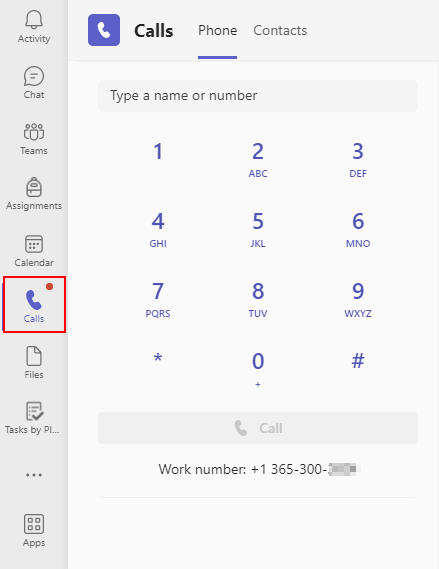
In Teams, you'll notice new features like Calling options and a calendar. Note that phone and calendar can take up to 72 hours to appear in your Teams window.
Accessing Voicemail
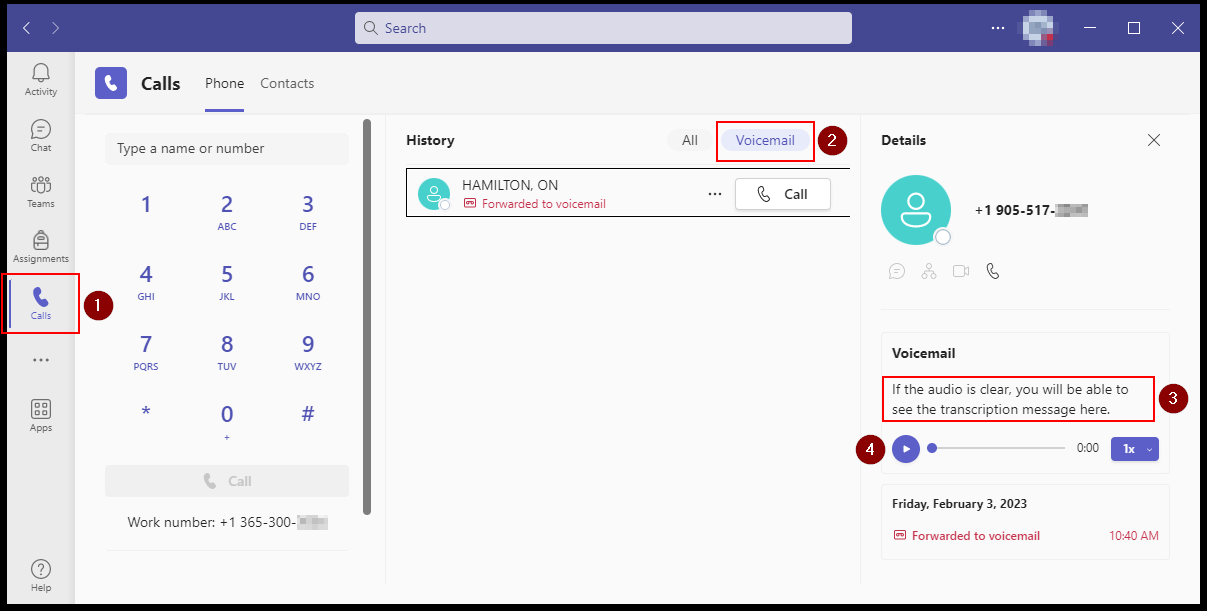
New voicemails will appear in Teams, and you'll get a notification in your email. To access your voicemail:
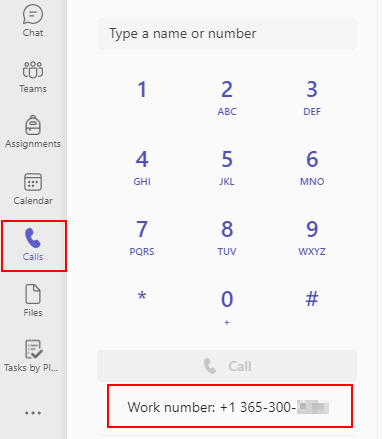
- On the left side of Teams, click Calls
- In the middle History section, click voicemail.
- Click the play button to hear the recording. The selected voicemail and transcription will appear on the right side of the screen. Note that the transcription may be inaccurate if the caller's audio is unclear.
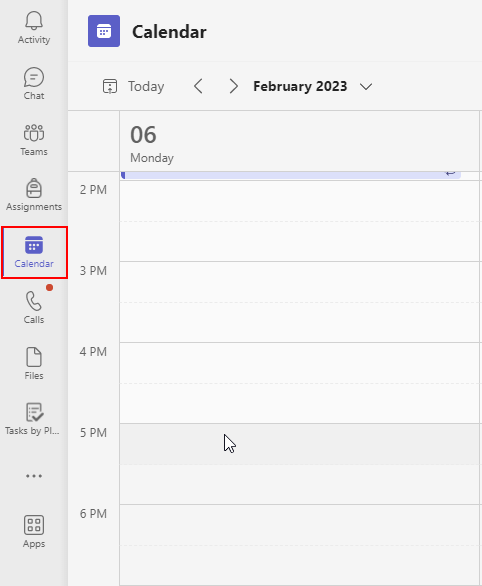
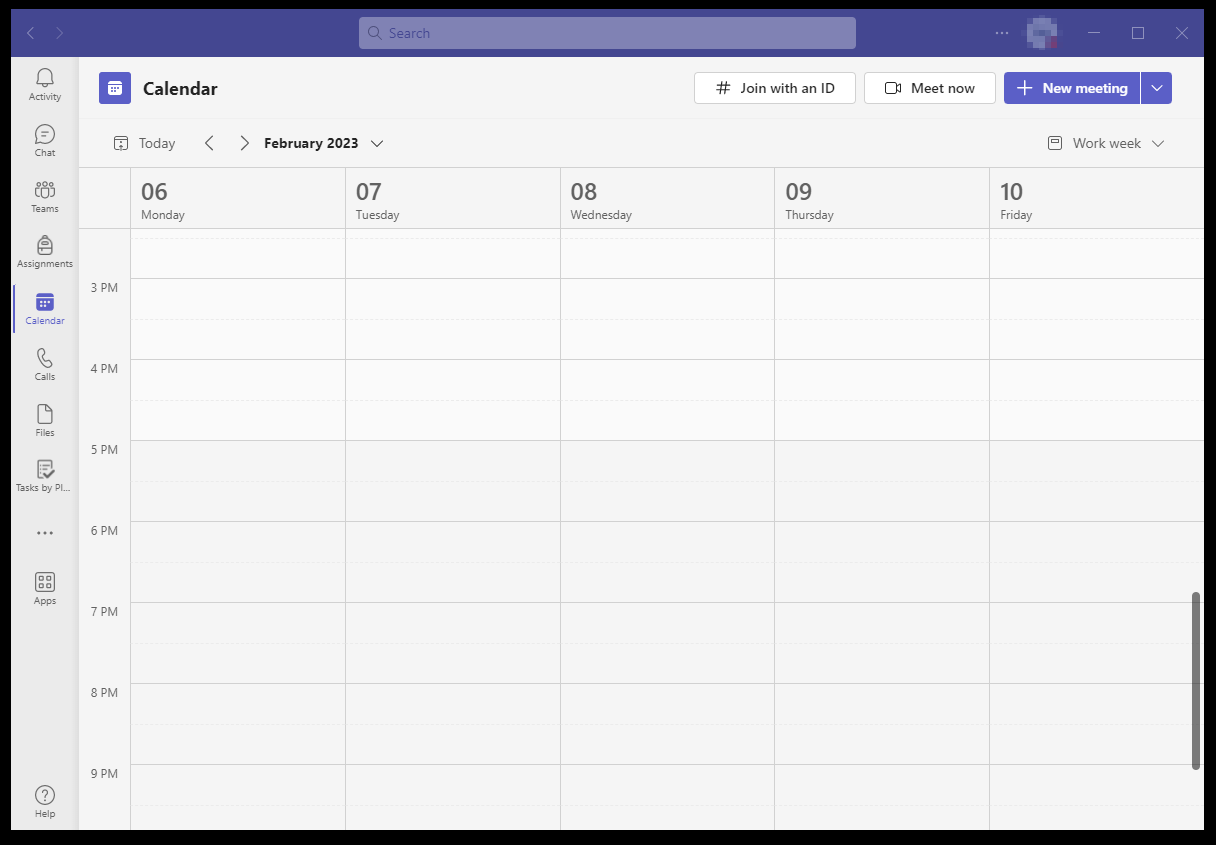
Calendars in Teams
The calendar in Teams is linked to your Outlook calendar. Note that the calendar can take up to 72 hours to appear in your Teams window.
Dial Pad and Your Phone Number
Your new direct-dial number will be shown below the dial pad.
Making a Private Team
Public Teams are listed in the Teams Gallery and can be joined by any user without the owner's approval.
By default, teams are private. Private Teams can help enhance collaboration, maintain confidentiality, and facilitate focused discussions for department teams, projects, and other purpose-specific groups not open to the public. Teams can be changed from public to private at any time.
Only Mohawk College staff can create Private teams. You must be the owner of the Private Team to add members to it.
How to Make a Private Team
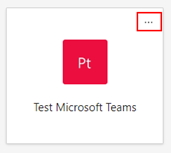
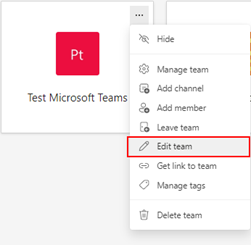
- Find the team you want to make private. Click on the ellipsis (...)
- Click Edit team
- In the pop-up window, click the Privacy dropdown and select Private. Click Update to save.

Making a private Channel in a Team
Teams contain Channels, which are the conversations dedicated to specific topics. Channels can be standard or private. A team can have up to 30 private channels.
- Standard channels are open for all members of the team. Anything posted is searchable by others.
- Private channels are for discussions that shouldn't be open to all team members.
Warning: A private channel cannot be changed to a standard channel later. Channel privacy can only be set when you create the channel.
How to make a Private Channel
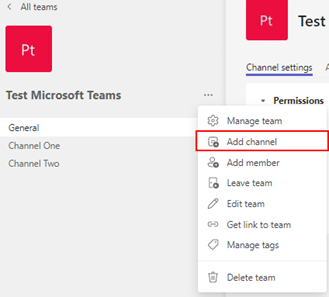
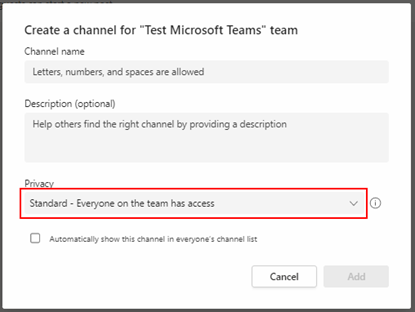
- Find your desired team. Click on the ellipsis (...), then Add Channel
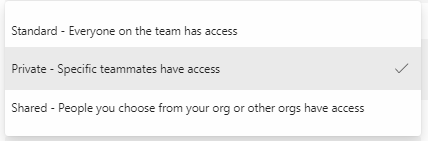
- Click the Privacy dropdown
- Select Private - Specific teammates have access
- When finished, click Create
- Add members to the private channel by typing their names. When finished, click Add.
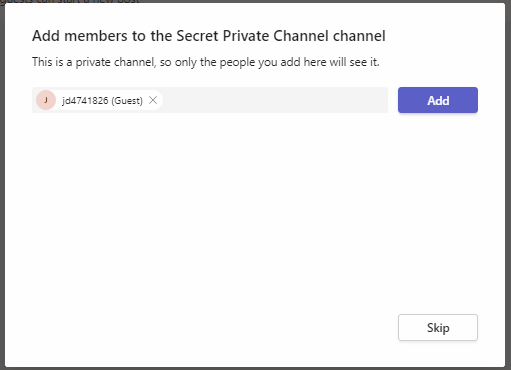
- When you're finished adding members, click Done
- The private channel is indicated by the lock next to its name.

Guest access for non-Mohawk partners in Teams
Guests are people from outside of Mohawk, such as partners, clients, vendors, consultants, or any individual who does not have a Mohawk College email. The team owner must invite them to join. Guests have fewer capabilities than team members or owners but can join meetings, calls, and other actions.
Only team owners can invite guests.
How to add a Guest to your Team
You must be the team owner to invite guests.
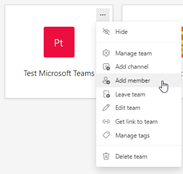
- Find the team you want to add guests to in Microsoft Teams. Click on the Ellipsis.

- In the ellipsis menu, click Add Member.
- The Add Member window will appear. Enter the guest's email address. Click the dropdown that says "Add as a guest"
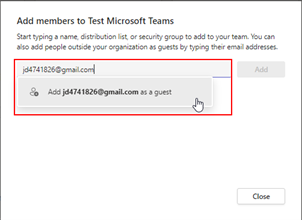
- When you're finished entering guest email addresses, click Add

- A banner will notify you that your guest might take a while to appear in your member list. Click the X to close this message.

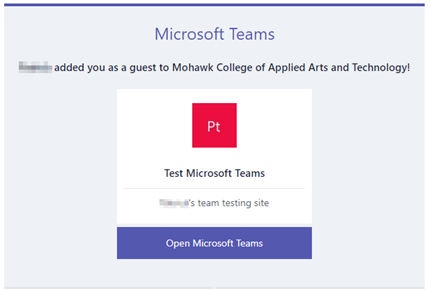
- Your guest will receive an invitation email. Click Open Microsoft Teams
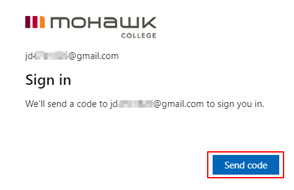
- A browser window will open to Mohawk's identity verification page. Click Send Code. The page will change to wait for your guest to enter the code.
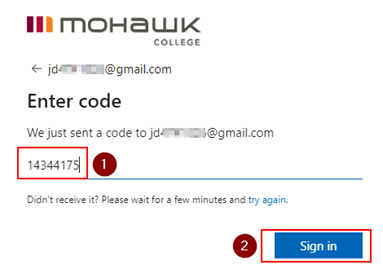
- Your guest will receive an account verification email containing a number code.
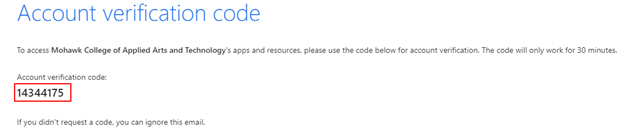
- Your guest must copy and paste or type the code into the identity verification page, then click Sign In.
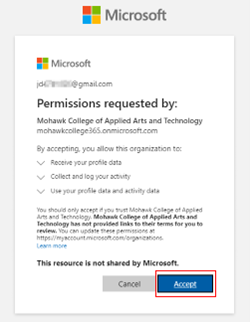
- Your guest must review Mohawk's required permissions before clicking Accept to proceed.
- Your guest can now access your team.