Working from Home for Employees

Working from Home

Working Remotely - Guidelines for Employees

You may have been instructed by your manager to work from home due to COVID-19. Information Technology Services would like to remind all College staff that the way you connect to our systems and use information can affect the security of our infrastructure and potentially impact the privacy rights of our community members.

Please refer to the following guidelines for working remotely:

Equipment & Resources

Currently, there is a limited number of Mohawk College equipment available to borrow for use at home. To request equipment please use the IT Self-Service Portal and submit a Special purpose equipment loan request.
Please specify the requirements, we will assess the needs and recommend and provide necessary equipment based on availability.


Remote Access as follows

Most IT systems are available off-campus without additional access required.

Remote access requests are for those systems that are not available off-campus, at home or abroad.

Services that REQUIRE Remote Access

  • Shared Network Drives
  • Home Drives (H:)
  • Banner Admin Pages
  • Cognos Reporting
  • Remote Desktop Services
  • Various network licenses


Services that DO NOT require Remote Access


Remote Access Guides

See guides in the sections below on Using College VPN and Remote Desktop Connection

Use OneDrive to collaborate and share documents

See OneDrive guide.

Access to Network Shares ‘H: Drive’

See guide in the section below on Mapping Network Drives

Microsoft Teams

Download Teams
How to use Teams and meetings
In-Depth Teams Video

Access work from home software

See guide in the section below on Microsoft Office and Outlook at Home

Telephony Services

See guide in the section below on Signing Into Skype for Business
Skype for Business Guide
Teleconferencing Guide
Voicemail Guide

For technical support with any of the services mentioned in this document contact the IT Service Desk.

Using College VPN

You may have been instructed by your manager to work from home due to COVID-19. Information Technology Services would like to remind all College staff that the way you connect to our systems and use information can affect the security of our infrastructure and potentially impact the privacy rights of our community members.

Here are some simple tips to ensure your use of technology is safe while working remotely

  • Use a College provided laptop or workstation. If you do not have one, see the “Microsoft Office and Outlook at home” section below.
  • Ensure that you have up-to-date anti-virus installed
  • Keep all software up to date
  • Only use trusted and secure Wi-Fi connections that are password protected
  • Back up work to College servers or solutions at regular intervals
  • Use Mohawk College sanctioned storage such as Microsoft OneDrive, Home Drives, or file shares


Here are some tips to ensure you handle data appropriately while working remotely

  • Do not transfer, save, or store sensitive information outside of Mohawk College systems, computers, or devices
  • Sensitive printed documents or written information must be destroyed with a cross-cut paper shredder
  • Access databases related to critical functions should be accessed through Remote Desktop to maintain data integrity
  • Be able to identify sensitive information and be cautious while using it:


RESTRICTED: Government-issued personally identifiable information, College issued passwords, encryption keys, information about the health or wellbeing of an individual, along with exam material.

CONFIDENTIAL: College assigned personally identifiable information, addresses, contact information, grades, dates of birth, Banner ID numbers.

INTERNAL USE ONLY: Standards, internal procedures, guidelines, and documentation that should not be shared externally along with course material.

PUBLIC: Marketing information, campus maps, corporate policies, program information, and advertisements.

Consult with your manager if you are unsure of the acceptable use and classification of data.

Using the College VPN

All staff have been given access to use the VPN during this period, however, not all services require VPN access. To ensure optimal experiences while connected to the VPN, restrict internet usage to work-related activities only.

See instructions on connecting to the VPN (PDF)

Services that DO NOT require VPN


Services that REQUIRE VPN

  • Shared Network Drives
  • Home Drives (H:)
  • Banner Admin Pages
  • Cognos Reporting
  • Remote Desktop Services
  • Various network licenses


Acceptable Use Policy Reminder

Please ensure you are familiar with the Acceptable Employee Use of IT Resources Policy (PDF). This policy is designed to protect you and the College from any damages that may occur from misuse of technology. For further information on security best practices please visit mohawkcollege.ca/cybersafe.

Microsoft Office and Outlook at Home

Don’t have a Mohawk College owned device? No problem!

To prepare your personal device for your work at home needs please download and install the following applications:

Microsoft Teams

Download Teams

Office 365


  1. Sign into Office using the button in the upper right corner.
    screenshot of Office 365 Sign In link button
  2. Enter your Mohawk College email address. Click Next.
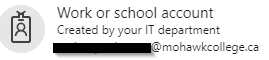
  3. Choose Work or School Account. This will bring you to the Mohawk College sign-on portal
    screenshot of Office 365 prompt to sign in with a Work or School Account
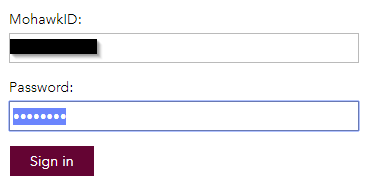
  4. Enter your 9-digit employee number (e.g. 000101060 [at] mohawkcollege.ca (000101060[at]mohawkcollege[dot]ca)) and password. Click Sign In.
    screenshot of Office 365 Mohawk account login page
  5. You’ll be asked to stay signed in. Choose yes or no. You will be prompted for your username and password more often if you choose no.
  6. Click Sign In.
  7. You will now be logged in to Mohawk College's Office 365 portal.


Install Office on your computer

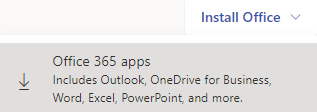
  1. Click on Install Office and choose Office 365 apps.
    Screenshot of Install Office link in Office 365
  2. This will start a download of an install file in your browser. You should see something similar to this on the bottom-left corner of your web browser. (May differ depending on the browser used).
    Screenshot of the Office installer downloading in the browser toolbar
  3. By clicking on the executable you downloading will continue to install Office 365. The installation will let you know when it’s done.
  4. Once completed - Office is now installed and ready to use on your device.


Setting Up Outlook

For quick access to e-mail, use webmail.mohawkcollege.ca.

Alternatively, you may set up Microsoft Outlook for the full Outlook experience:

  1. After installing Office365, Launch Outlook.
  2. Enter your email address and press Connect.
    screenshot of Office 365 Outlook asking you to enter your email address
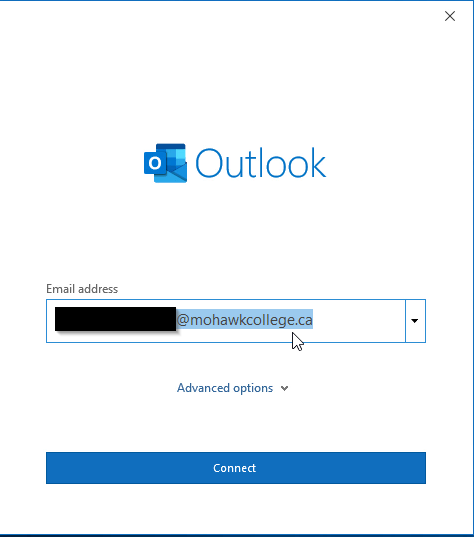
  3. After clicking on Connect you’ll be see an Advanced setup window. choose Exchange.
    screenshot of Office 365 Exchange selection option
  4. This will walk you through the setup of Outlook on your personal device.
  5. Once completed click on Done.
  6. You should have access to your email at home in full Outlook client.

Signing Into Skype for Business

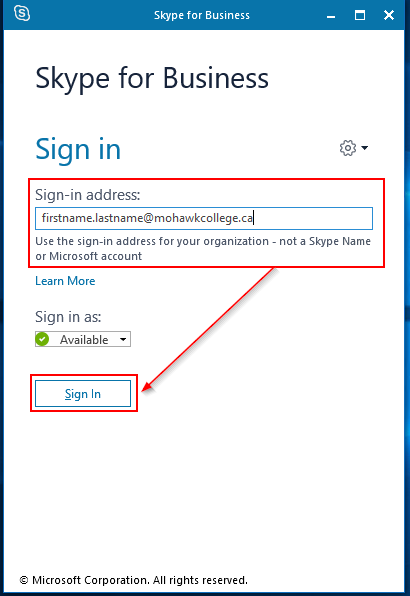
After installing Office365, launch Skype for Business from the start menu.

  1. It will ask you to log in. Enter your Mohawk e-mail address and click Sign In.
    Screenshot of Skype for Business Sign In Screen in Windows
  2. When asked, enter your 9-digit employee number (e.g. 000101060 [at] mohawkcollege.ca (000101060[at]mohawkcollege[dot]ca)) and password. Click Sign In.
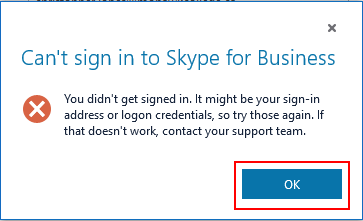
  3. You will receive an error message. This is expected. Click OK to continue. You must update the Username field to sign in.
    Screenshot of expected signing error in Skype for Business
  4. Change the User Name box to Admin.mc.local\EmployeeNumber. Example: Admin.mc.local\000101060
    Screenshot showing format of Username field when signing into skype for business
  5. Enter your password. Choose the save the password if you wish, then click Sign In

Mapping Network Drives

The automated drive mapping feature is not supported when connected to the college by VPN. You must manually map network drives after connecting to the Mohawk VPN. Some groups have their own shares. Please contact the IT Service Desk for details.

Map Drives in Windows 10

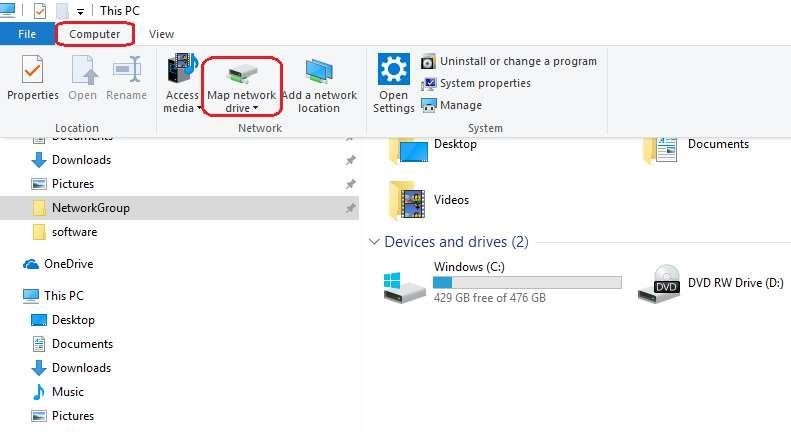
  1. Click Start and type "This PC" to search. Click This PC.
  2. Click Computer and then click Map network drive.
    Screenshot showing location of Map Network Drive option in windows explorer
  3. In the Folder box, enter the full path to the server share
    E.G. for a home drive: \\mcfs01.mohawkcollege.ca\home\EmployeeNumber
    Click Connect Using Different Credentials, then click Finish.
    screenshot showing drive letter, folder path, and connection options
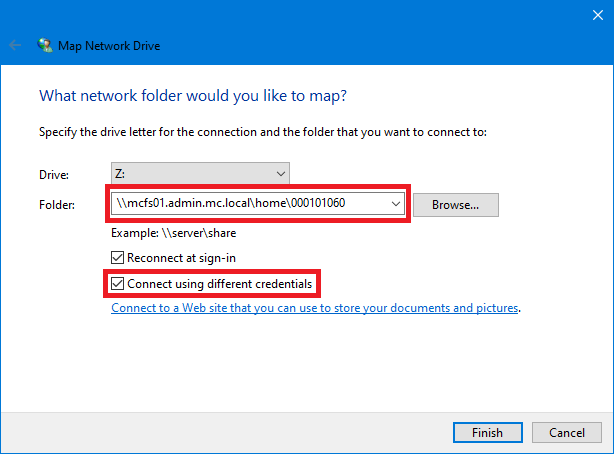
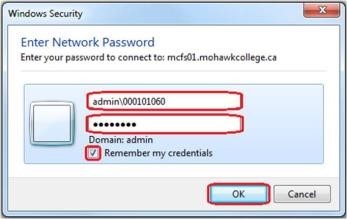
  4. In the User name and Password boxes, type admin.mc.local\EmployeeNumber (e.g. 000101060) and password.
  5. Check Remember my credentials, then click OK. Your mapped drive is now available under This PC in the File Explorer.
    Screenshot showing login prompt asking you to enter your employee number and password

Map Drives in Mac OS

  1. From the Finder, on the Go menu, click Connect to Server.
  2. Enter the path to the network drive you want to map
    E.G. for a home drive: smb://mcfs01.mohawkcollege.ca/machome/EmployeeNumber
    Screenshot of Connect to Server prompt in Mac OS showing server address
  3. Type admin.mc.local\EmployeeNumber (e.g. 000101060) and password. Click Connect
    Screenshot of login prompt in mac OS asking for employee number and password
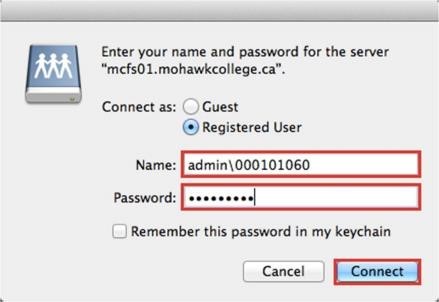
  4. The window for your Home Drive will open. Note: A mounted network drive should appear on the desktop.

If you need further assistance, please contact the IT Service Desk.

Remote Desktop Connection

Request Remote Desktop Access

  1. Sign into the IT Self-Service Portal
  2. Click Submit Request > Computing and Printing Equipment > Workstation Configuration Change
  3. Request to have Remote Desktop enabled on your workstation.


To be able to use remote desktop, you must:

  • Have a completed Remote Desktop Request (instructions above).
  • Connect to the VPN. See VPN instructions (PDF).
  • Know the hostname of your work desktop.


On your home Windows computer:

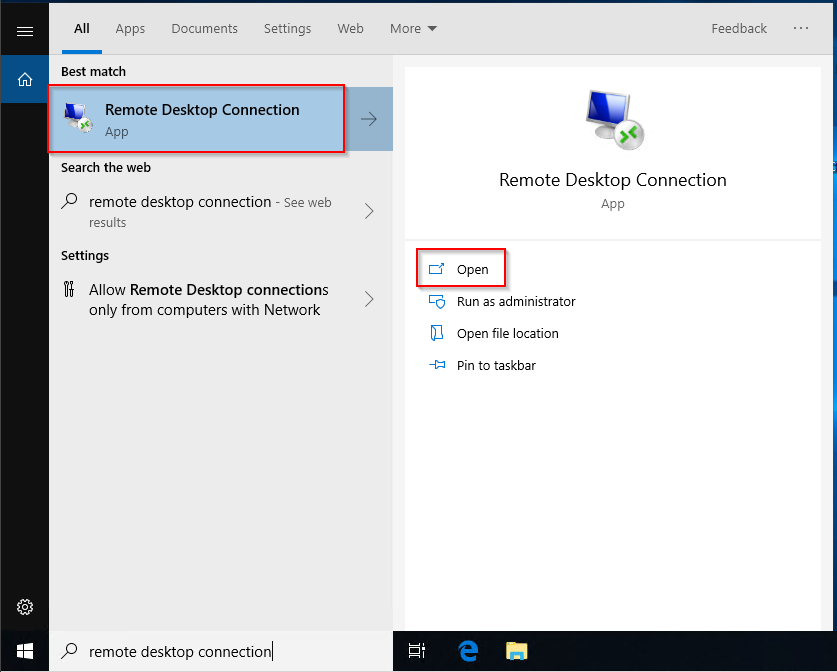
  1. Click Start and type "Remote Desktop Connection", then click Remote Desktop Connection.
    Screenshot of windows 10 start menu displaying search result for remote desktop connection
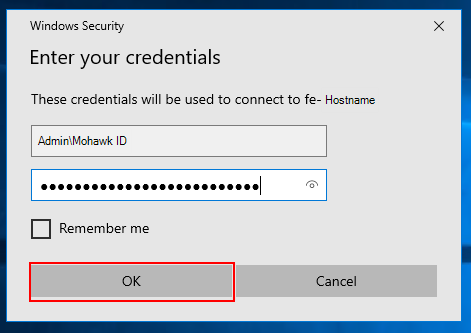
  2. In Remote Desktop Connection, type the hostname of the PC you want to connect to (e.g. FE-Hostname), then click Connect.
    Screenshot of remote desktop connection window asking for computer hostname
  3. Enter your 9-digit employee number in the format of Admin\000101060 and your Password. Click “Remember Me” if you don’t want to be prompted for a password every time, then click OK.
    Screenshot of remote desktop window asking for 9-digit employee numer and password
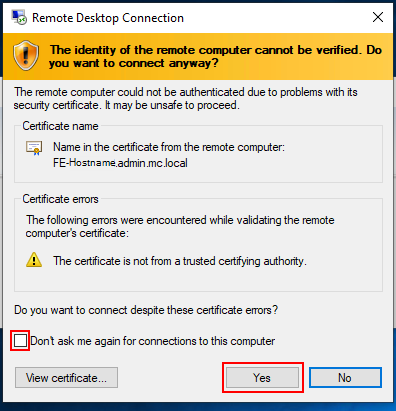
  4. Check “Don’t ask me again for connections to this computer”, then click Yes. You should now be connected through Remote Desktop.
    Screenshot of remote desktop warning message

Microsoft Teams for Students and Staff

Install Teams on your computer by following the instructions in the Microsoft Office section above.

Use Teams to collaborate, hold meetings, and share screens. Learn more about using Teams from the Library⤻.

Zoom for Students and Faculty

Please visit the Zoom Homepage⤻ for Zoom web conferencing instructions.