FileSender allows you to securely send files that are too large for emails by sharing a download link with your recipients.
- Send up to 100 GB of files in a single transfer.
- You can send files to non-Mohawk recipients.
- Files you send expire after 10 days. Files uploaded by guests expire after 20 days.
How to use FileSender
Follow the steps in this short video or read the instructions that follow below.
Send Files with FileSender
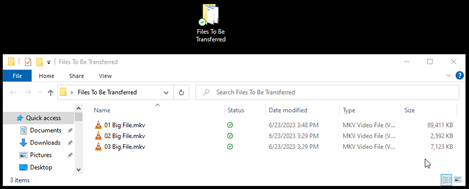
- On your computer, organize the files you want to send into a single folder so you can locate them easily.
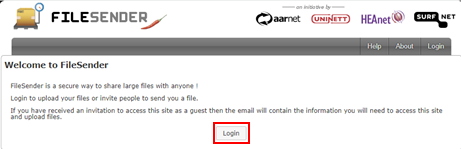
- Go to Mohawk's FileSender (new window).
- Click Login.
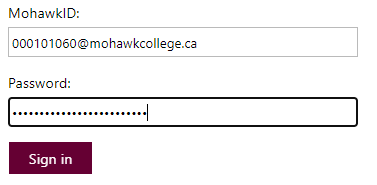
- Enter your employeeID [at] mohawkcollege.ca (employeeID[at]mohawkcollege[dot]ca) (e.g. 000101060 [at] mohawkcollege.ca (000101060[at]mohawkcollege[dot]ca)) and password.
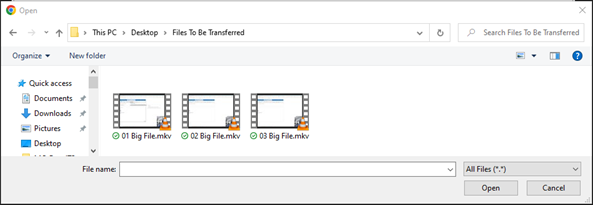
- Click Select Files. The file selection window will appear.

- Go to the folder you organized in the first step. You can select multiple files to send by holding down the CTRL key and clicking the files you want to include. Click Open to continue.
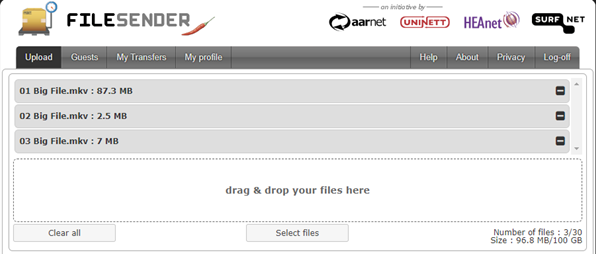
- The files you selected will appear in a list at the top.
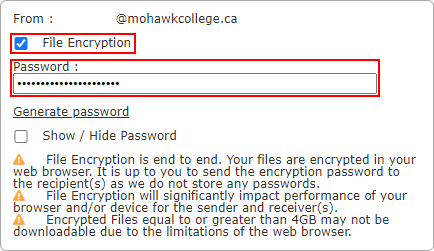
- Optional: To encrypt your files, check the File Encryption box and enter a password. Your must share this password with your recipients.
- Click the Send button to begin uploading your files.
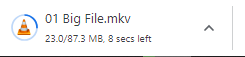
- FileSender will show the upload progress and the estimated time for the upload to complete. This may take several minutes if your files are very large.

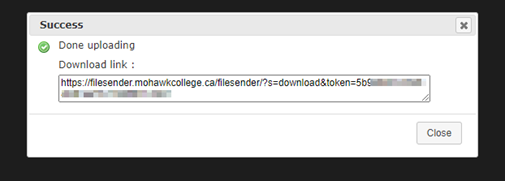
- When file transfer is finished, FileSender will give you a download link to share with your recipients. Copy the link.
- Share the download link with your recipients by email or chat. If you chose encryption include the password you entered. Encrypted files cannot be downloaded without a password.
Receive Files through FileSender
When someone uses FileSender to share files with you, they must send you the download link. Check your spam and junk folders if you didn't receive the email.
If the sender is unfamiliar to you, or you have doubts about the email or download legitimacy, do not proceed.
- Make note of any instructions the sender provides to you and if they've included a password to download encrypted files.
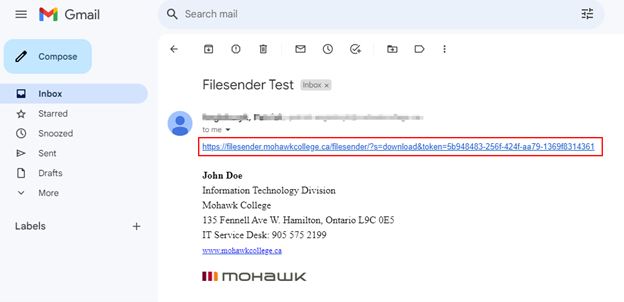
- Click the download link to go to FileSender. You may be asked to log in to your Mohawk account with your ID and password (e.g. 000101060 [at] mohawkcollege.ca (000101060[at]mohawkcollege[dot]ca)).
- FileSender will show you the list of files you can download.
To download the files individually, click the Download button to the right of the file's name.
To download the files in one package, check the box to the left of the files you want to include, then click Download as a single .zip file.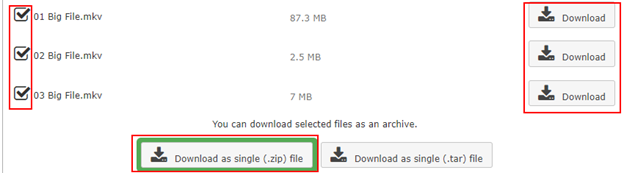
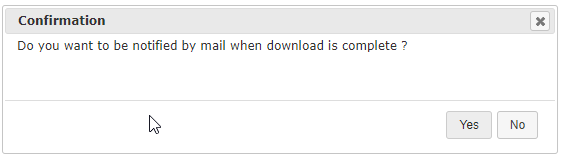
- A confirmation will appear. You can click Yes to receive an email when the download completes.
- Your browser's download status area will also show your downloads.