Backup Your Files
Use OneDrive to backup and sync your workstation and files.
Backup Desktop, Documents, and Pictures folders
Microsoft OneDrive can automatically backup your Desktop, Documents, and Pictures folders to the cloud, protecting them and making them available on any device you use.
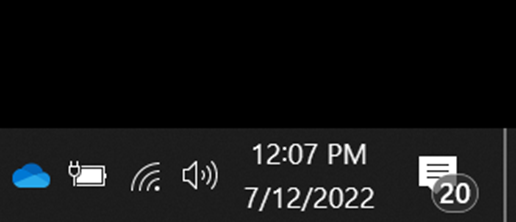
- Locate the OneDrive icon near your clock at the bottom right of the screen:
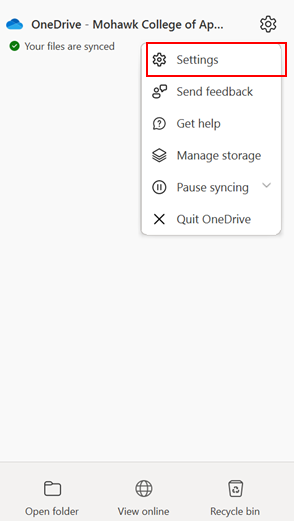
- Right-click on the blue cloud icon and select Settings:
- Click on the Backup tab and select Manage Backup:

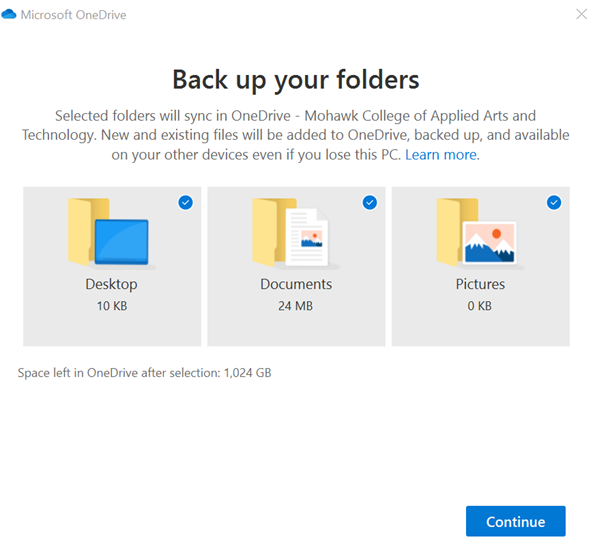
- Ensure all three items are ticked and click Start Backup:
- You will see the option to show sync progress. You can click the X at the top right to close this window
- Click OK in the Microsoft OneDrive options window
- You can see your OneDrive folder contains your Desktop, Documents, and Pictures folders. Anything you save to these folders will automatically backup to your OneDrive.

Recover Files from OneDrive
You can recover files from OneDrive's Recycle Bin or restore your entire drive from a previous backup.
Restoring your entire drive from a backup will save over all of your drive's contents. You will lose any files you created or changed after the date and time of the backup you restore.
Recover files from OneDrive's Recycle Bin
- Go to the Office Portal login page.
- Login with your workplace credentials
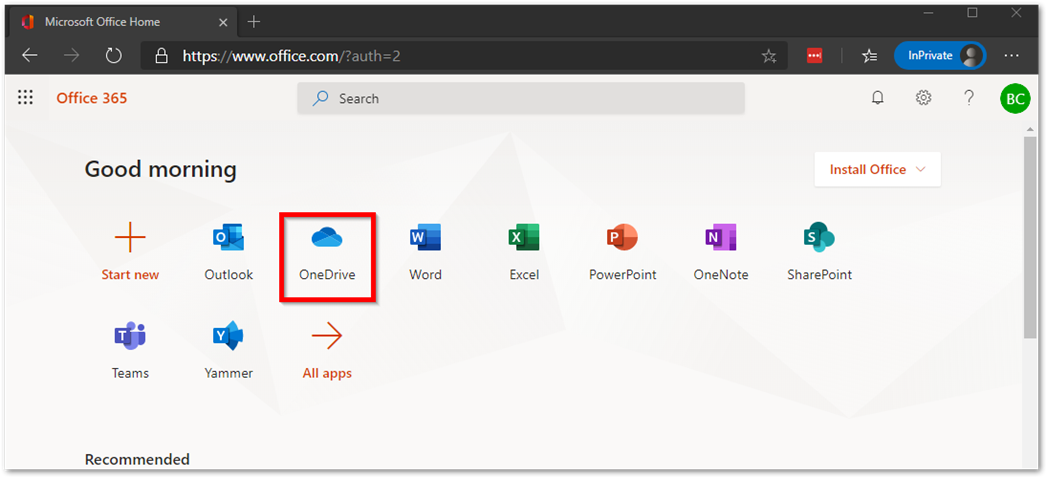
- Click Apps
- Click OneDrive
- Click the Recycle Bin menu item on the left-hand side
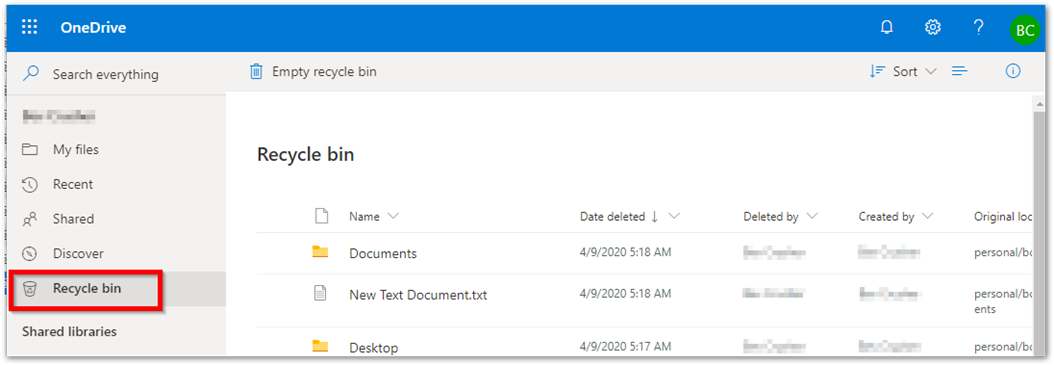
- You will see a list of files that have been recently deleted. Select the file(s) you wish to restore, then click the Restore button
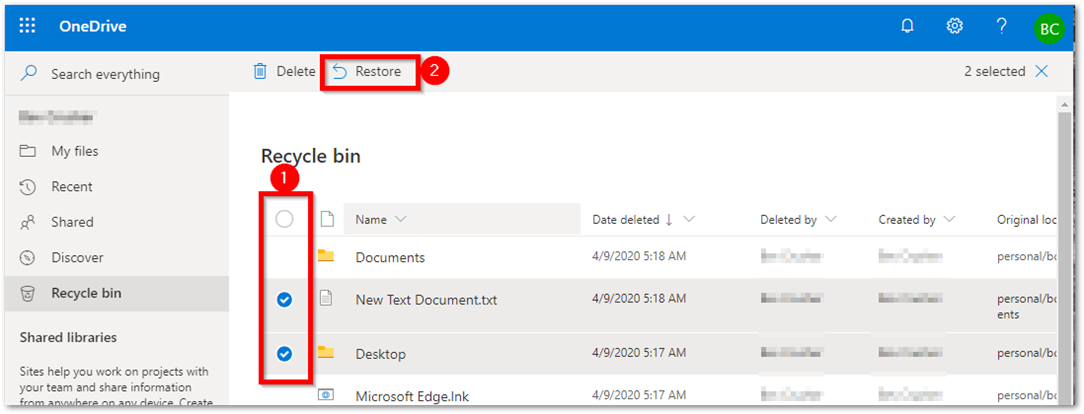
- The files will be restored to their original location
Restore your entire OneDrive from a backup
- Go to the Office Portal login page
- Login with your workplace credentials
- Click Apps
- Click OneDrive
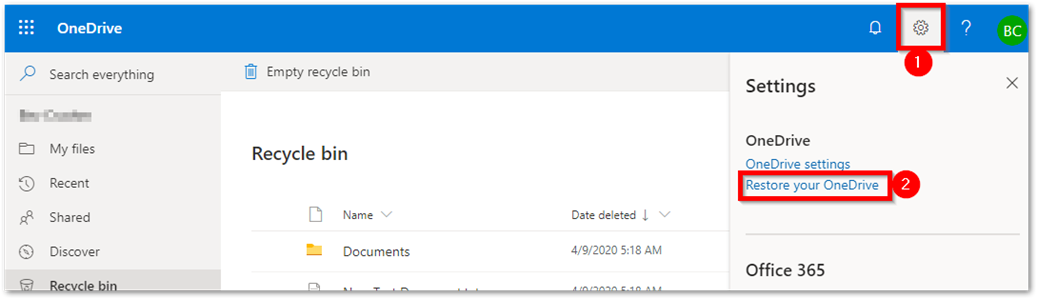
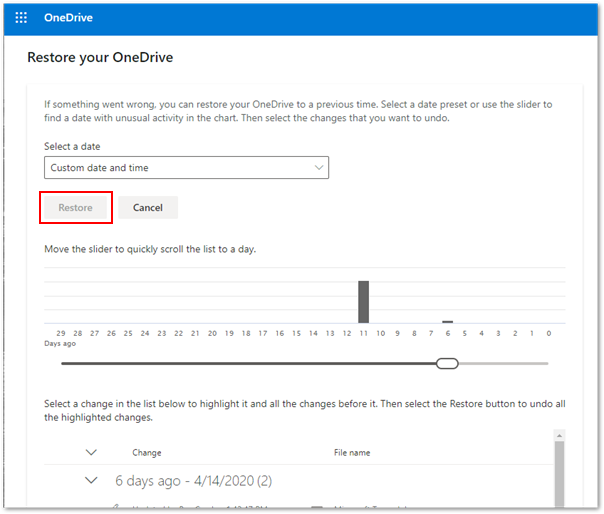
- Click on the Settings gear icon and select "Restore your OneDrive"
- Choose the backup you want to restore. You can select a specific date. The list at the bottom of the screen shows all changes that have occurred. You can choose how far back to restore while seeing which files will be affected
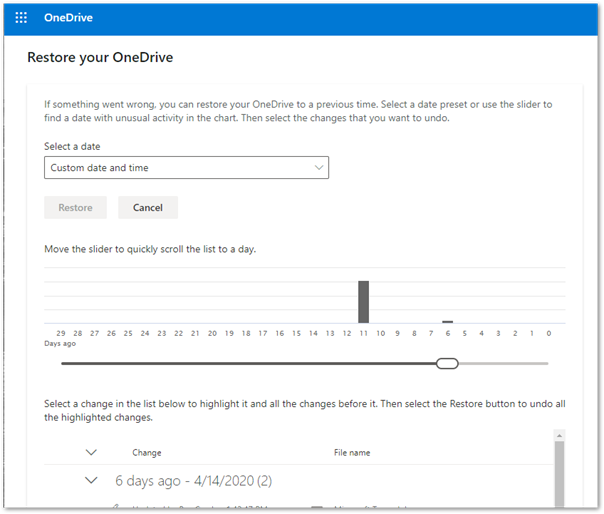
- When you're happy with your selection, click the Restore button. All of the files will be restored to their original location.
Sync your Workstation with OneDrive
You can sync your computer from OneDrive at any time. If your computer has been updated or reimaged, use this to quickly re-sync your desktop and files.
Sync your computer from OneDrive using the app
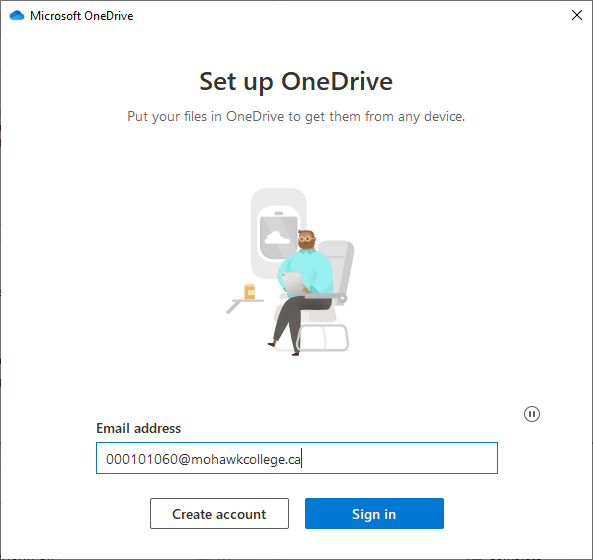
If OneDrive is already installed on your computer, sign in with your account to sync files.
- Open the OneDrive app and sign in with your ID. E.g: 000101060 [at] mohawkcollege.ca (000101060[at]mohawkcollege[dot]ca)
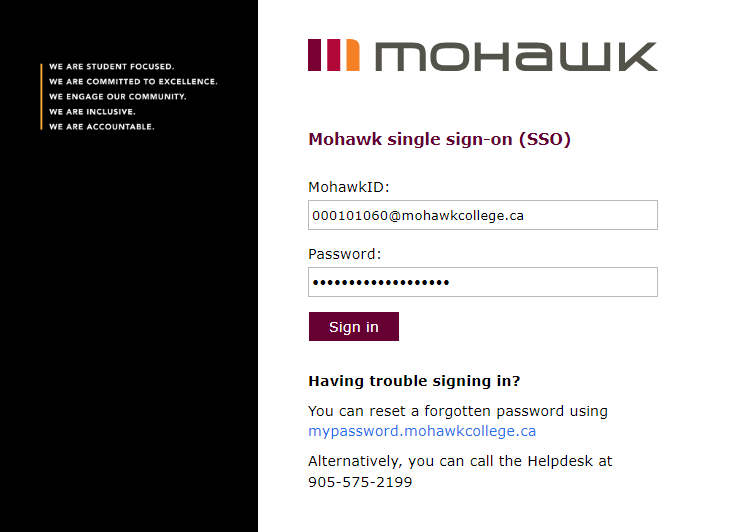
- If asked, enter your password on the college's single sign-on page
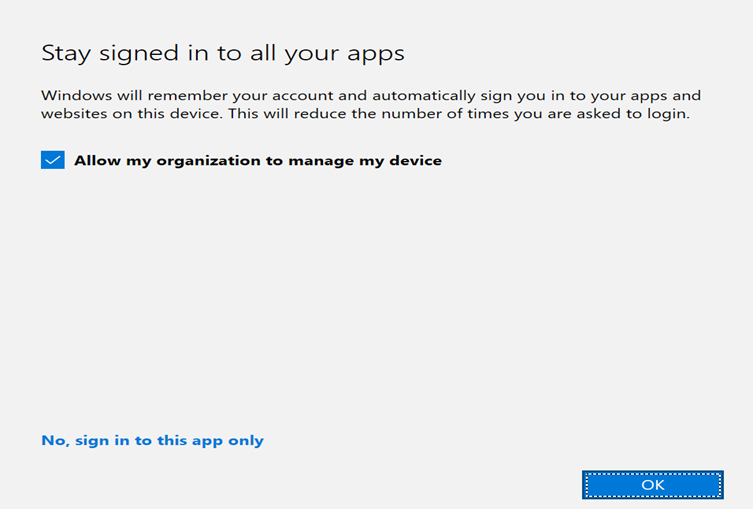
- Check the box to "Allow my organization to manage my device" then click OK
- OneDrive will setup your device
- OneDrive will begin downloading your files from the cloud to your computer
Sync your computer from OneDrive using your browser
If you don't have the OneDrive app already, follow these steps to setup file sync through your browser.
- Go to the Office Portal login page
- Click Apps, then click OneDrive
- Click the Sync button
- In the OneDrive app window, enter your ID. E.g: 000101060 [at] mohawkcollege.ca (000101060[at]mohawkcollege[dot]ca)
- Click Next
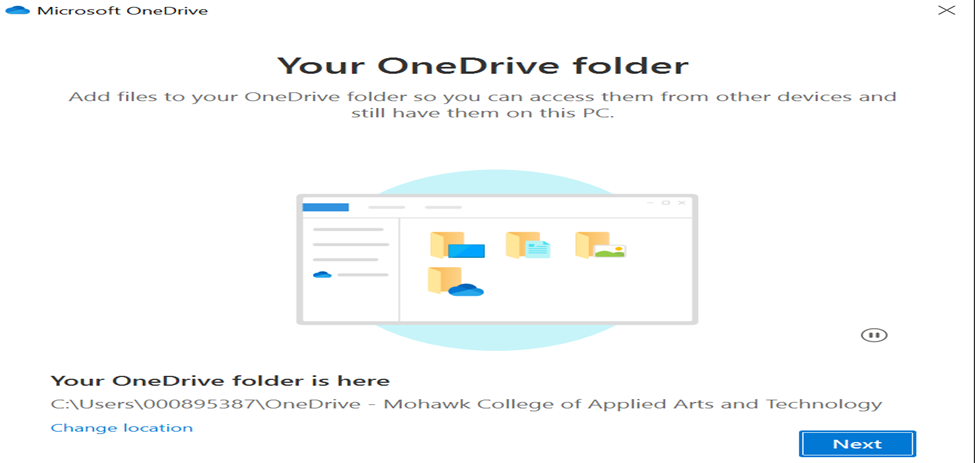
- Click Next

Share Files with OneDrive
You can share files directly from your computer without attaching copies of them to emails. You can use this to control what the recipient can do.
- Prevent recipients from downloading the file, only allowing them to view it in their browser
- Limit access to the document to only the person you've shared it with
- Remove access to the file at any time
Share a file from Windows file explorer
Make sure your workstation is connected to your OneDrive before proceeding.
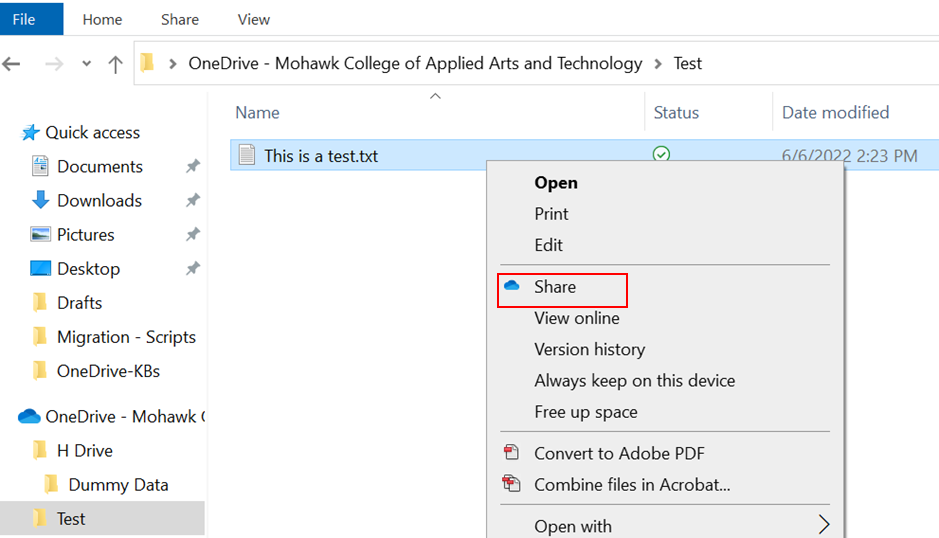
- Right-click any file and select the Share option
- Select the who you will be sharing the file with
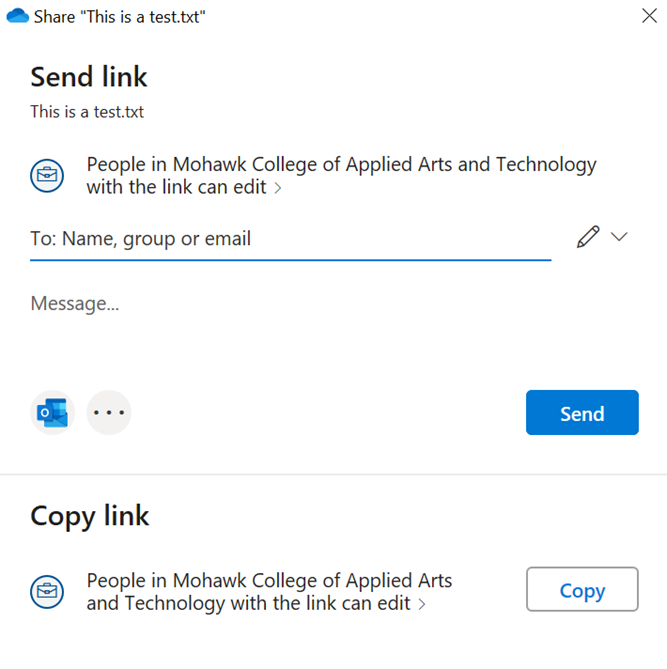
- Choose one of link setting options:
Anyone with the link - For security reasons, this option is not available for college OneDrives
People at Mohawk College with the link - The link can be used by anyone at Mohawk, but not external users
People with existing access - When you know the recipient already has permission to see the file
Specific people - Send a link to people outside the college which can only be accessed by the individuals you specify
You can also uncheck Allow Editing if you do not want recipients to edit the file.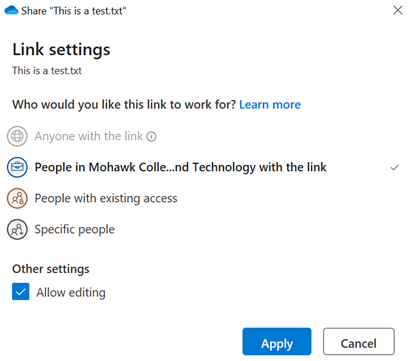
- You can choose to Block Download and prevent recipients from downloading a copy of the file you're sharing.
- Once you have set these options, enter the recipient’s email address and a message. Click Send when ready.
Alternatively, you can use the Copy Link button to paste it into an IM, chat, or your own email.
See a File's Version History
You can view past versions of a file in Windows file explorer or in OneDrive online in your browser
View version history in your browser
- Go to the Office Portal login page
- Click Apps, then click OneDrive
- Locate the file for which you wish to view the version history
- Hover over the file name with your mouse cursor and click on the three dots that appear. Select Version History from the options menu
- Hover you mouse cursor over the date, a dropdown menu will appear, on which you can select to View the previous version or Restore it. Restoring to an earlier version will overwrite the current version
View version history in Windows file explorer
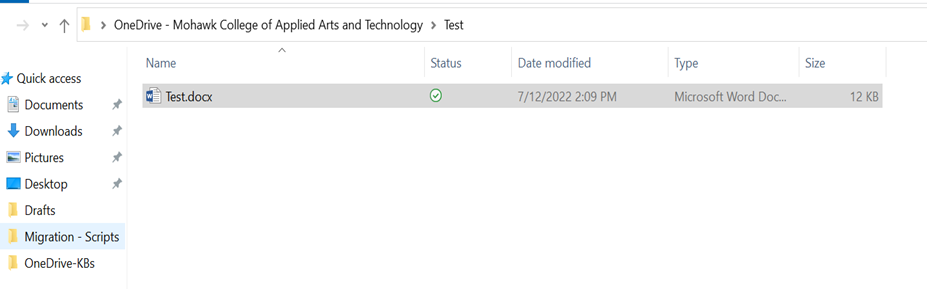
- Open Windows Explorer and browse to your file
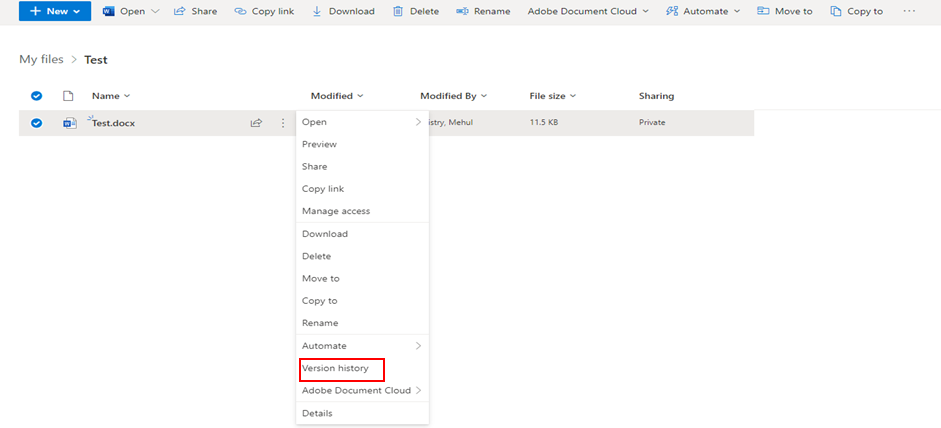
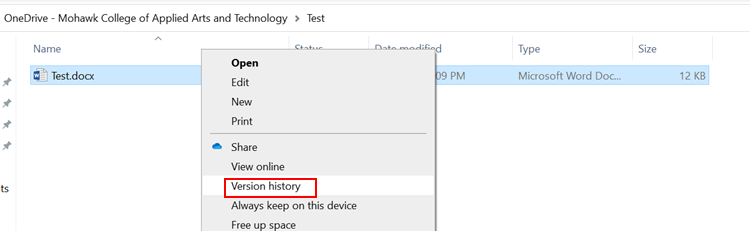
- Right-click on the file and select Version History
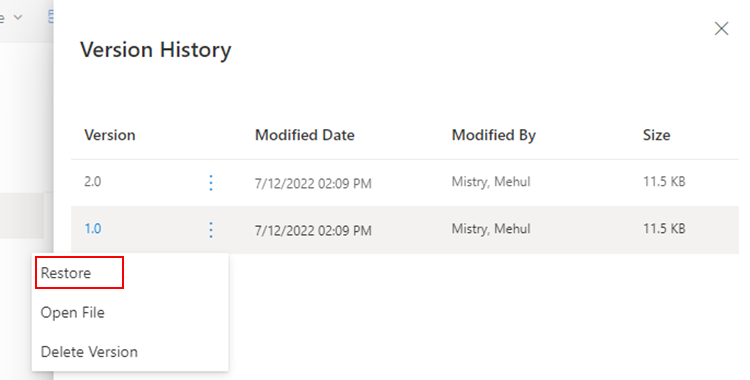
- A window will appear showing you the versions of that particular file.
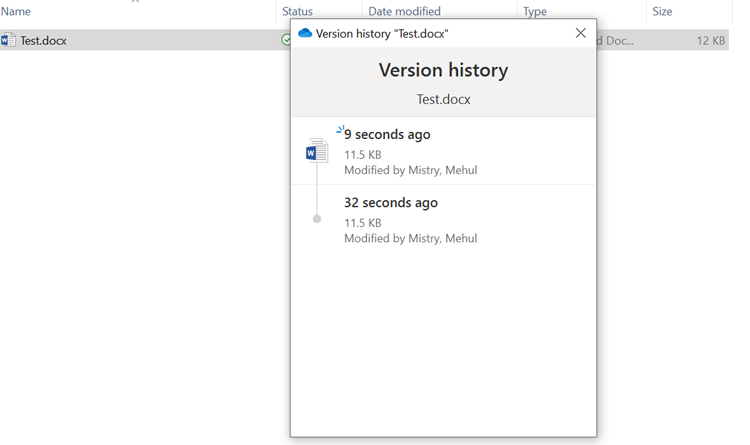
- You can click on the three dots next to a version to Restore or Download a copy of that version

